

We all love to have pretty fingers and well groomed nails. This is why most ladies head to the salon to get their nails done almost on a weekly basis. You might have difficulties applying nail polish by yourself, but this seven step DIY nail art would surely make the task a lot easier.
Step 1: Have your nail kit ready. To achieve this look, you should have nail polish, cotton wool, nail polish remover, a base colour, and some other coloured ones to play with.

Step 2: Use a base coat to create a smooth even surface for your nail polish. Base coat is commonly known as nail hardener.
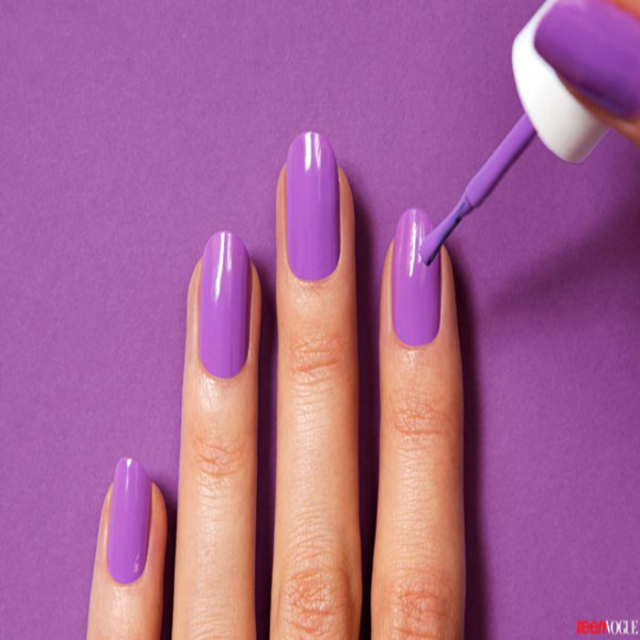
Step 3: Apply your lightest colour first. Apply two coats to make it really stand out.
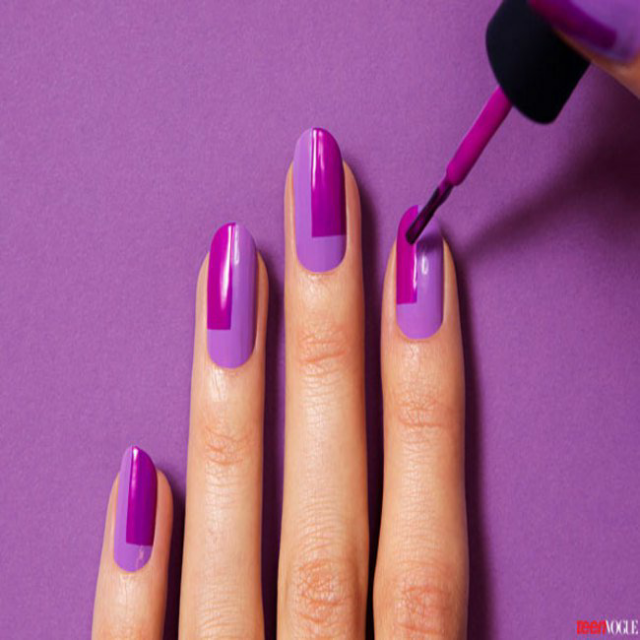
Step 4: Using a single stroke of the brush from your polish bottle, draw a rectangular shape one corner of each nail until all ten fingers are done.
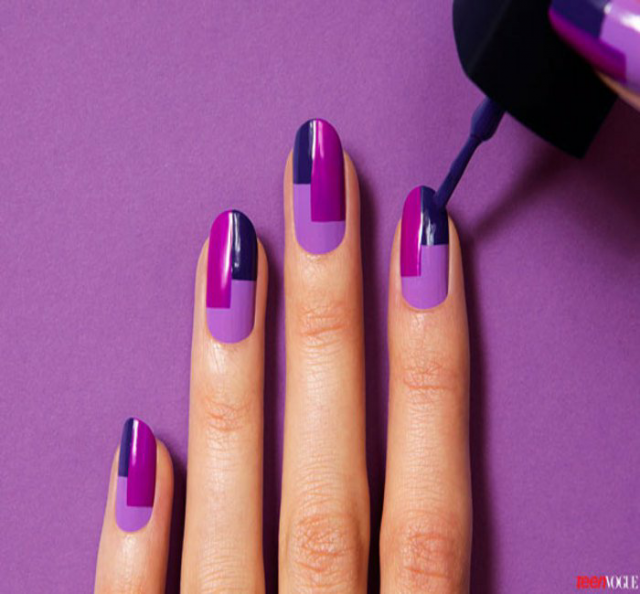
Step 5: Draw another rectangular shape with a deeper on the other top corner of each nail until all ten fingers are done.
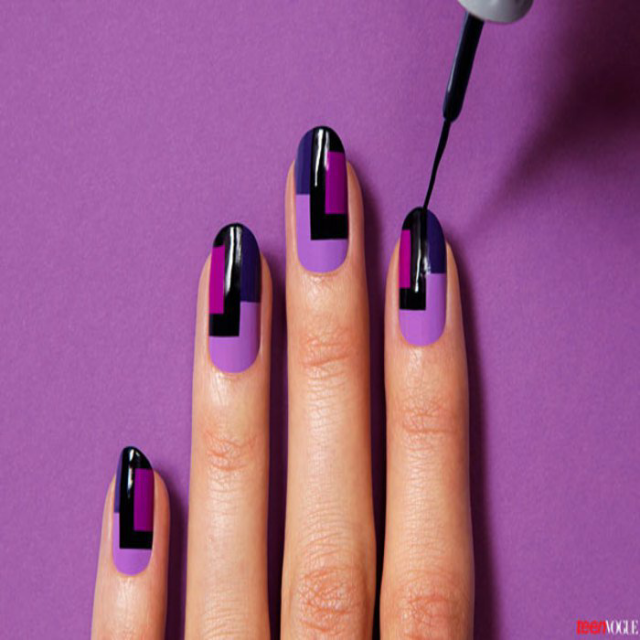
Step 6: Now using a black nail art brush, gently draw a border linear under the larger rectangle. You might make mistakes the first time but it’s all fun and you can clean it up and try again. You’ll be sure to get it right soon.
Step 7: Apply a base finish using a strong base coat. You can alternatively get nail art stick on’s too.
Source - www.kamdora.com